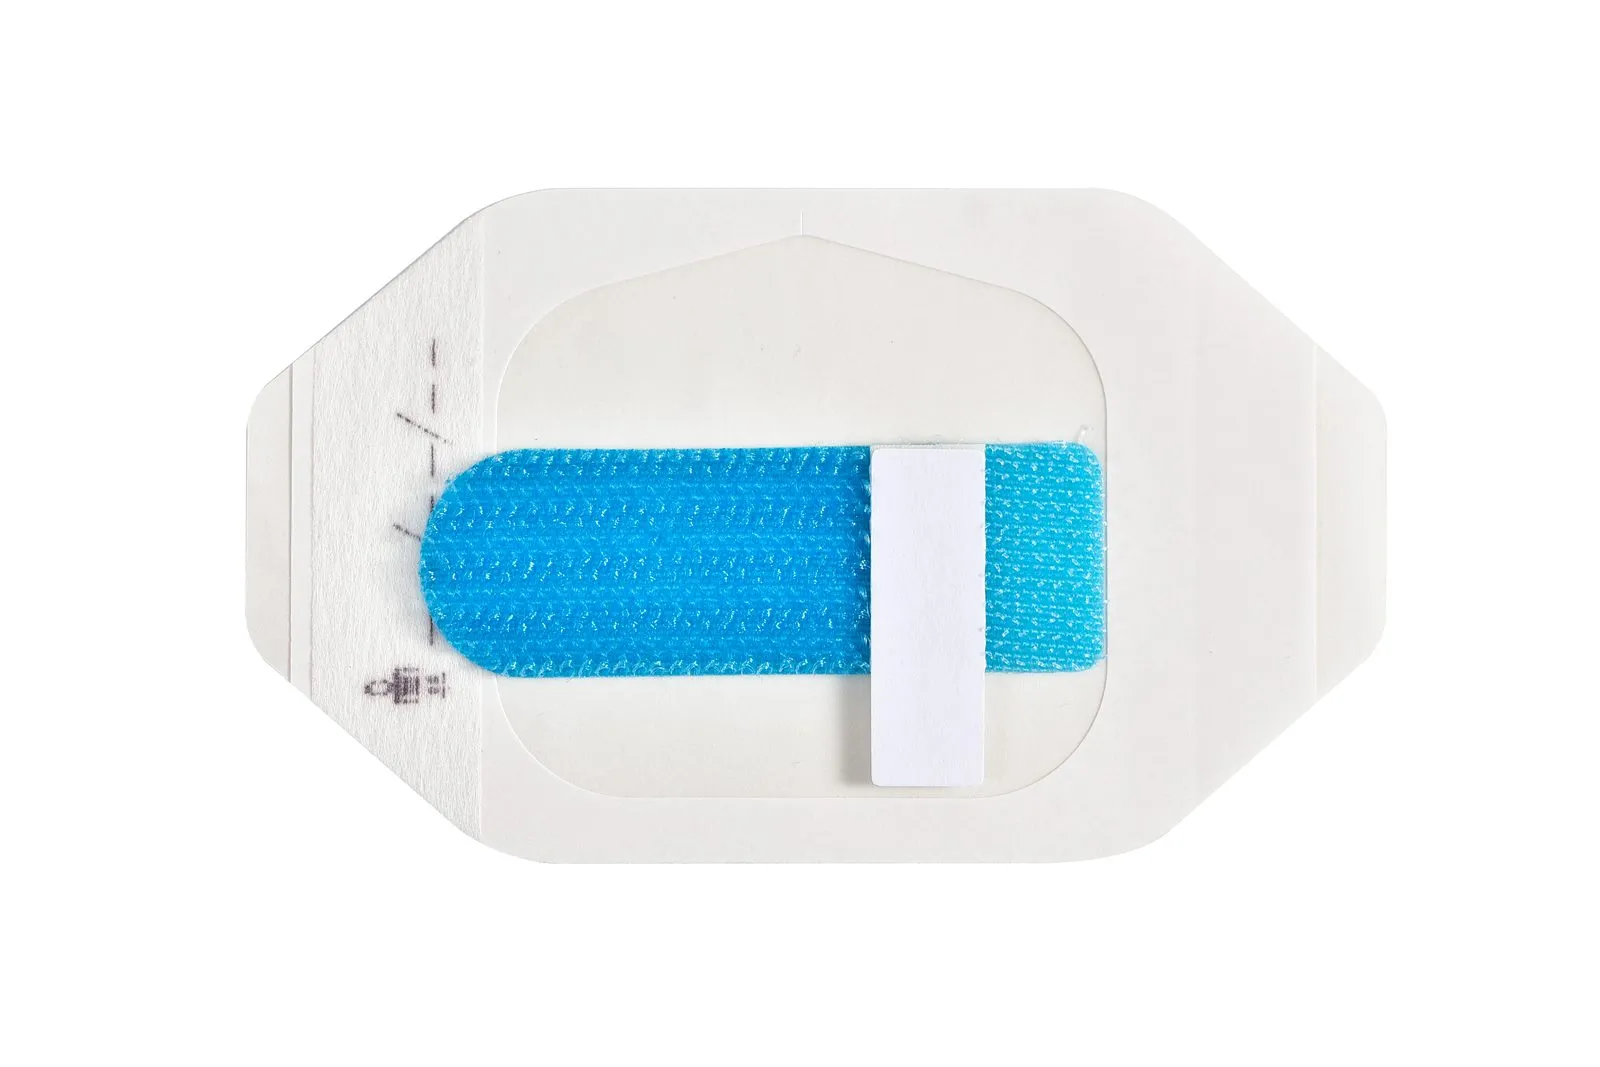
Most CGM adhesive patch enquiries start the same way: a device team sends a drawing, asks for a unit price, and waits. Six weeks later the samples arrive and fail the wear test, or the quoted price cannot be held at volume. The gap is rarely about unit cost. It is about whether the manufacturer treated the patch as a converted adhesive system rather than a die-cut shape.
A continuous glucose monitoring patch is a laminated stack: skin-contact adhesive, carrier film, foam or nonwoven, release liner, and increasingly a secondary overpatch layer, all cut to a tolerance that must hold across millions of units. Choosing a manufacturer means verifying that capability stack in that order. The nine checks below separate converters from resellers with a die press, and the red flags further down should end an evaluation early.
1. Start With a Drawing Review, Not a Price
A competent converter answers a drawing with engineering comments, not a number. Send the layer stack, overall dimensions, cut tolerance, liner construction, expected wear duration and annual volume. A useful reply will flag things the drawing does not say: whether the adhesive can be kiss-cut without striking the liner, whether the chosen foam compresses under the sensor housing, whether the tab radius will lift in sweat, and what minimum web width the shape forces.
If the first response is a price with a three-week sample lead time and no technical commentary, you are talking to a sales channel, not a manufacturing partner. Full-service converting partners routinely deliver prototype samples in 3 to 7 days precisely because engineering review happens before tooling, not after.
2. Confirm Who Owns the Adhesive System
Ask a direct question: does the supplier coat adhesive in-house, laminate pre-coated rolls from a material maker, or buy finished patch stock? Each answer has a different implication for change control. A converter that laminates purchased coated rolls can still deliver excellent parts, but it inherits the material maker release schedule and cannot tune adhesive coat weight to your wear data.
For CGM programs, the adhesive is the performance-critical layer. You want a manufacturer that can discuss acrylic versus silicone chemistry in terms of your wear window, sensor mass, patient activity level and removal requirements, not one that simply quotes a catalogue grade. Material selection and adhesive engineering should be a documented, reviewable step in the quotation.
3. Verify Die-Cut Tolerance and Registration
Patch tolerance drives two outcomes: fit around the sensor housing and edge behaviour on skin. A patch cut outside tolerance leaves an exposed adhesive rim that collects lint and lifts; a patch cut too tight leaves a liner ledge that tears during application.
Ask for the tolerance the supplier will guarantee on your geometry, not a house standard. Rotary die cutting on a registered web typically holds tighter and more consistent dimensions at volume than flatbed presses, but rotary tooling costs more and lead times are longer. A supplier that offers only one process is telling you something about its equipment base.
4. Interrogate Release Liner Handling
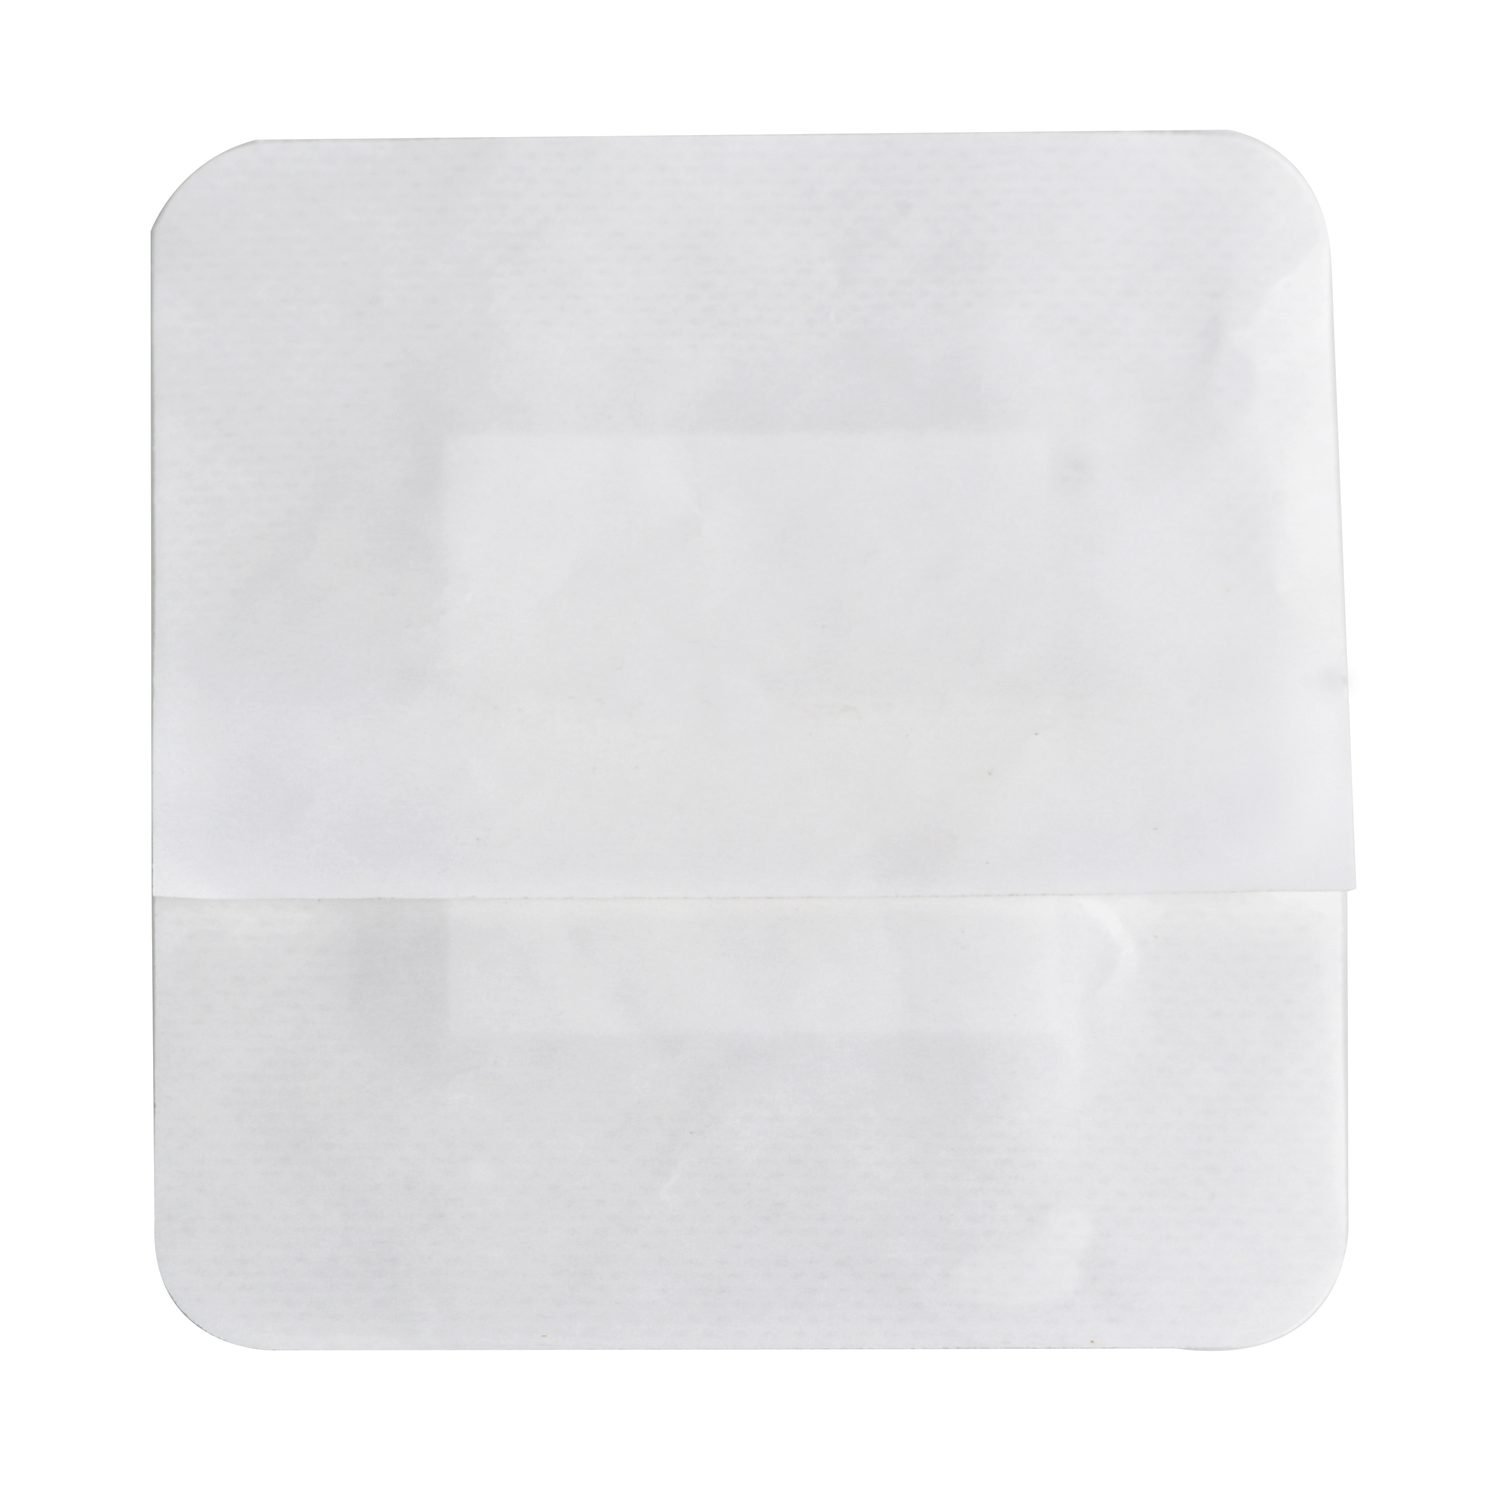
The liner is the least discussed and most frequently mishandled part of a CGM patch program. It must release cleanly at the point of use, survive slitting and lamination without curl, and remain dimensionally stable under shipping heat. Suppliers that specify liner only by thickness are usually guessing.
Ask which liner was validated against your adhesive, what release force range is specified, and how the supplier controls liner tension during rotary conversion. If the patch ships with a split liner or a tabbed liner, request the intended peel path in writing, because a patient peeling from the wrong corner is a complaint that reaches the device maker, not the converter.
5. Check Cleanroom Class and Bioburden Controls
Skin-contact patches for CGM devices are not sterile implants, but they are still medical device components manufactured under a quality system. ISO 13485 certification is the baseline. Beyond the certificate, verify the class of the room where your product is actually converted, the gowning procedure, the particle monitoring frequency and the environmental records retention period.
ISO Class 7 production is a meaningful differentiator for adhesive components because converting generates particles at the cut edge. A supplier running skin-contact adhesive in a controlled environment with documented monitoring has solved a problem that a general-purpose print shop has not.
6. Ask for the Metrology Behind the Certificate
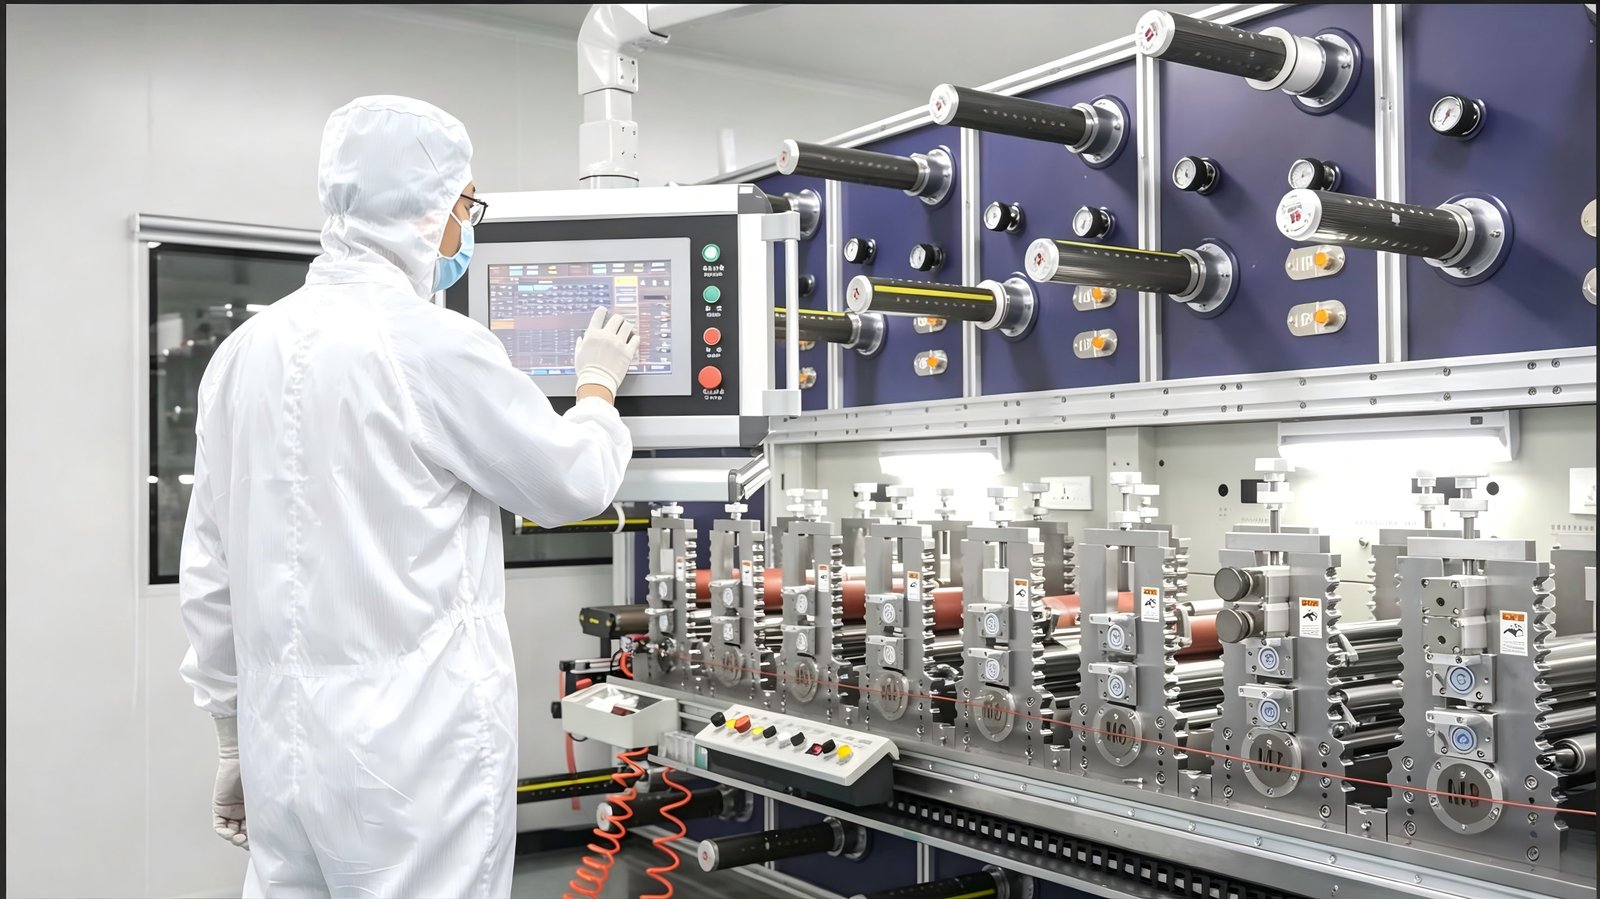
A certificate of conformance states that parts meet specification. It does not tell you how that was established. Ask which instruments measure what: optical or vision systems for outline dimensions, force gauges for peel and tack, gram-scale or profilometry methods for coat weight, and how often the system is calibrated against a traceable standard.
A serious converter will describe in-line inspection, first-article inspection reports, sampling plans and the reaction plan when a dimension drifts. A weak one will send a template PDF with the same values on every lot.
7. Compare Tooling Strategy and Change Control
Tooling is a capital decision and a supply-chain risk. Rotary tooling is expensive and lead-time heavy but amortises across high volume; flatbed tooling is cheap and fast but slower per stroke. Ask where the tool is manufactured, who owns it, how revisions are managed, and what happens to your tool if the relationship ends.
Change control matters more than most buyers expect. A supplier that swaps liner vendors or adhesive coat weight without a documented customer notification is a recall pathway. Require written change notification, requalification triggers and revision history on the drawing.
8. Map the NPI Timeline From Sample to Serial
Request a dated plan, not a promise. A credible new product introduction timeline covers drawing review, tooling fabrication, first-article samples, wear and peel validation by your team, packaging format, process validation, and ramp. For adhesive components, sample-to-serial typically runs several weeks even when sampling itself takes under ten days.
Compare that plan against your device timeline rather than against a competitor quote. A supplier that cannot articulate the gates is likely to discover them during your launch.
9. Pressure-Test Commercial Durability
Finally, test the commercial story. Ask for installed capacity in patches per year, the share already committed to other programs, minimum order quantities at your stage, and how the supplier handles forecast volatility. Ask what happens to price when volume triples, and what tooling refresh costs after wear.
Dual sourcing is prudent for a single-source, skin-contact component. A manufacturer confident in its process will support qualification of a second site or line rather than resist it.
Red Flags
Several answers should end a conversation: no documented drawing review; refusal to name the adhesive chemistry or liner grade; a cleanroom claim without a room class or monitoring record; tolerance quoted as a percentage rather than a micron value; tooling ownership retained by the supplier with no release clause; and any offer to skip first-article inspection to save time.
None of these are fatal on their own if the supplier can explain the gap with a plan. A pattern of them is.
A Practical Supplier Scorecard
Weight the checks against your program risk. A device in design verification should weight drawing review, sampling speed and material flexibility; a device in launch should weight tolerance capability, capacity and change control.
| Dimension | What to verify | Weight (design phase) | Weight (launch phase) |
|---|---|---|---|
| Engineering review | Written DFM comments on stack, tolerance, liner | High | Medium |
| Adhesive capability | Coat weight control, chemistry knowledge | High | High |
| Tolerance | Guaranteed micron value, process capability data | Medium | High |
| Cleanroom | ISO class, gowning, particle monitoring | Medium | High |
| Metrology | Instruments, calibration, reaction plan | Medium | High |
| Tooling and change control | Ownership, revision process, notification | Medium | High |
| Capacity and terms | Annual capacity, MOQ, dual sourcing support | Low | High |
Run the scorecard with two engineers, not one buyer. The checks are technical, and the answers only become comparable when someone who owns the wear data reads them.
Frequently Asked Questions
What tolerance should a CGM patch manufacturer guarantee?
Ask for a micron value tied to your geometry, typically plus or minus 0.1 mm or tighter on overall outline for rotary-converted patches. Percentage-based tolerances are not comparable between suppliers and hide the real capability of the process.
Does a CGM patch need to be made in a cleanroom?
It is a skin-contact medical device component, so controlled manufacturing is expected. ISO Class 7 production with documented particle monitoring is a practical benchmark, and it should be paired with ISO 13485 certification covering the converting process.
How long should prototype samples take?
A converter with in-house tooling and engineering review can typically deliver first samples in three to seven days. If the sample lead time exceeds three weeks for a simple patch, tooling is probably being outsourced.
Can one supplier handle both CGM patches and BGM spacer tape?
Sometimes, but check the equipment base. CGM patches are usually rotary or flatbed cut from laminated rolls, while BGM spacer tape demands precision slitting and tight thickness control. Look for dedicated capability on each rather than a single generic press.
What should be in a CGM patch drawing package?
Layer stack with material and thickness, overall and cutout dimensions, cut tolerance, liner type and peel direction, adhesive chemistry, expected wear duration, packaging format and annual volume. Missing liner and wear data is the most common gap.
How do we protect against supplier change without notice?
Require written change notification in the quality agreement, define requalification triggers for adhesive, liner and tooling changes, and hold drawing revision history at the device maker rather than only at the converter.
Conclusion
Choosing a CGM adhesive patch manufacturer is a capability audit, not a sourcing transaction. The supplier that wins should be able to review your stack, name the failure modes in your geometry, show the room your product runs in, and describe how a drifting dimension gets caught before it ships. Everything else is price negotiation.
Leetoya converts skin-contact CGM patches, overpatches and BGM adhesive components under ISO 13485 with ISO Class 7 cleanroom production, and can review a drawing before tooling is committed. For a starting point on stack design, see our custom CGM adhesive patch capability and the medical material selection library.
Request a drawing review. Send the layer stack, target tolerance and annual volume, and our engineering team will return manufacturability comments before quoting. Contact the engineering team.