Table of Contents
- What Is Medical Device Lamination?
- The Anatomy of a Laminated Adhesive Stack
- The Medical Lamination Process Step by Step
- Design Rules for a Reliable Laminate
- Common Lamination Defects and How to Prevent Them
- How Lamination Meets Die Cutting
- Validation, QC, and Documentation
- 2026 Hot Topics in Medical Lamination
- FAQ: Medical Device Lamination
Medical device lamination bonds two or more layers — adhesive, film, foam, nonwoven, fabric, and release liner — into a single functional stack before precision die cutting. Nearly every wearable adhesive component, CGM patch, insulin pump anchor, and diagnostic spacer tape begins as a laminate: each layer contributes one property (bond, cushion, breathability, barrier, or peel protection), and the lamination line assures they never separate, bubble, or delaminate in use. This guide explains how medical lamination works, how to design a stack that converts cleanly, which defects destroy bond reliability, and how lamination connects to the die-cutting and quality systems behind a validated component. For the shorter conceptual overview, start with our resource on why lamination matters.
What Is Medical Device Lamination?
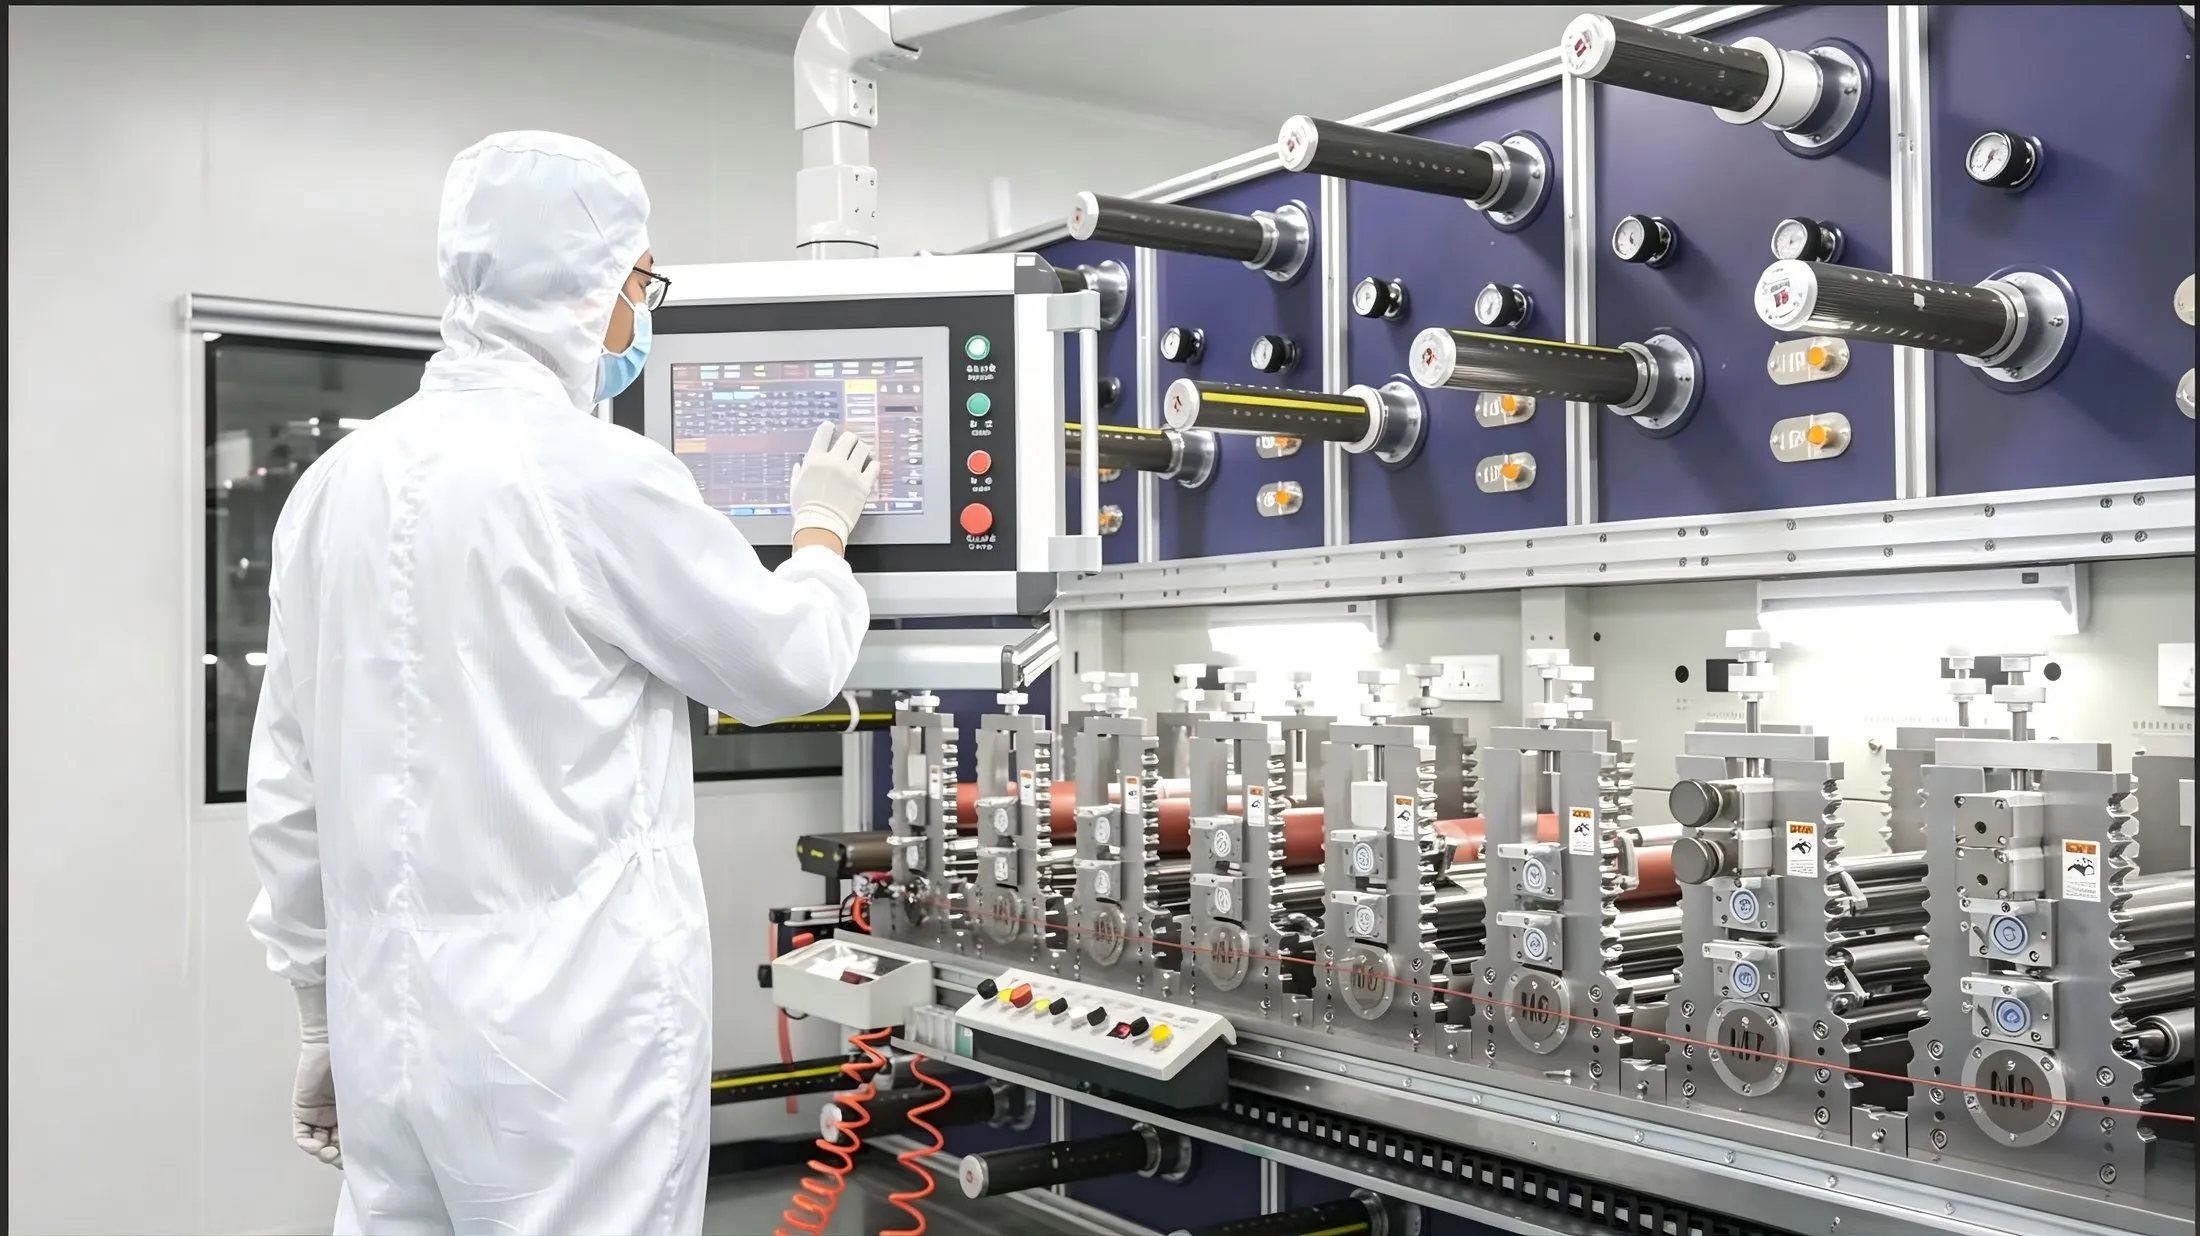
In medical converting, lamination is the controlled bonding of web materials under defined pressure, temperature, and speed to produce a multilayer roll stock. Unlike consumer laminating, medical grades require consistent layer registration, zero trapped air, adhesive coverage without bleed, and a bond that survives aging, sterilization, sweat, and the device's full wear window. The resulting roll is then precision die cut to the final component shape. A well-designed laminate behaves as one material; a poorly bonded laminate separates in the field, which shows up as edge lift, bubble expansion, or delamination under the housing.
The Anatomy of a Laminated Adhesive Stack
A typical skin-contact wearable laminate, built from the skin outward, includes:
- Skin-contact PSA layer: acrylic or silicone pressure-sensitive adhesive that bonds to the patient (see our medical adhesive materials catalog for chemistries).
- Functional backing: nonwoven for breathability and conformability, perforated film for water resistance, or thin foam for cushioning.
- Intermediate tie layer: a second adhesive or primer that bonds backing to any structural film.
- Barrier or printed layer: a film that blocks moisture, carries brand printing, or shields the electronics.
- Release liner: silicone-coated paper or film that protects the PSA until application; it is peeled off at use, never part of the final device.
Diagnostic components such as BGM spacer tapes add hydrophilic films and precision spacers between layers, where layer thickness directly affects sensor performance. Every interface in this stack must be laminated without voids.
The Medical Lamination Process Step by Step
1. Material Preparation and Roll Setup
Each web — adhesive-coated film, backing, liner — is loaded on unwind stands with tension control. Liners are matched to their PSA so release force stays consistent across the roll.
2. Web Alignment and Registration
Guides and sensors keep layers aligned within tight tolerances; misregistration accumulates into skewed parts after die cutting, especially on asymmetric patches with cutouts.
3. Adhesive Application and Nip Bonding
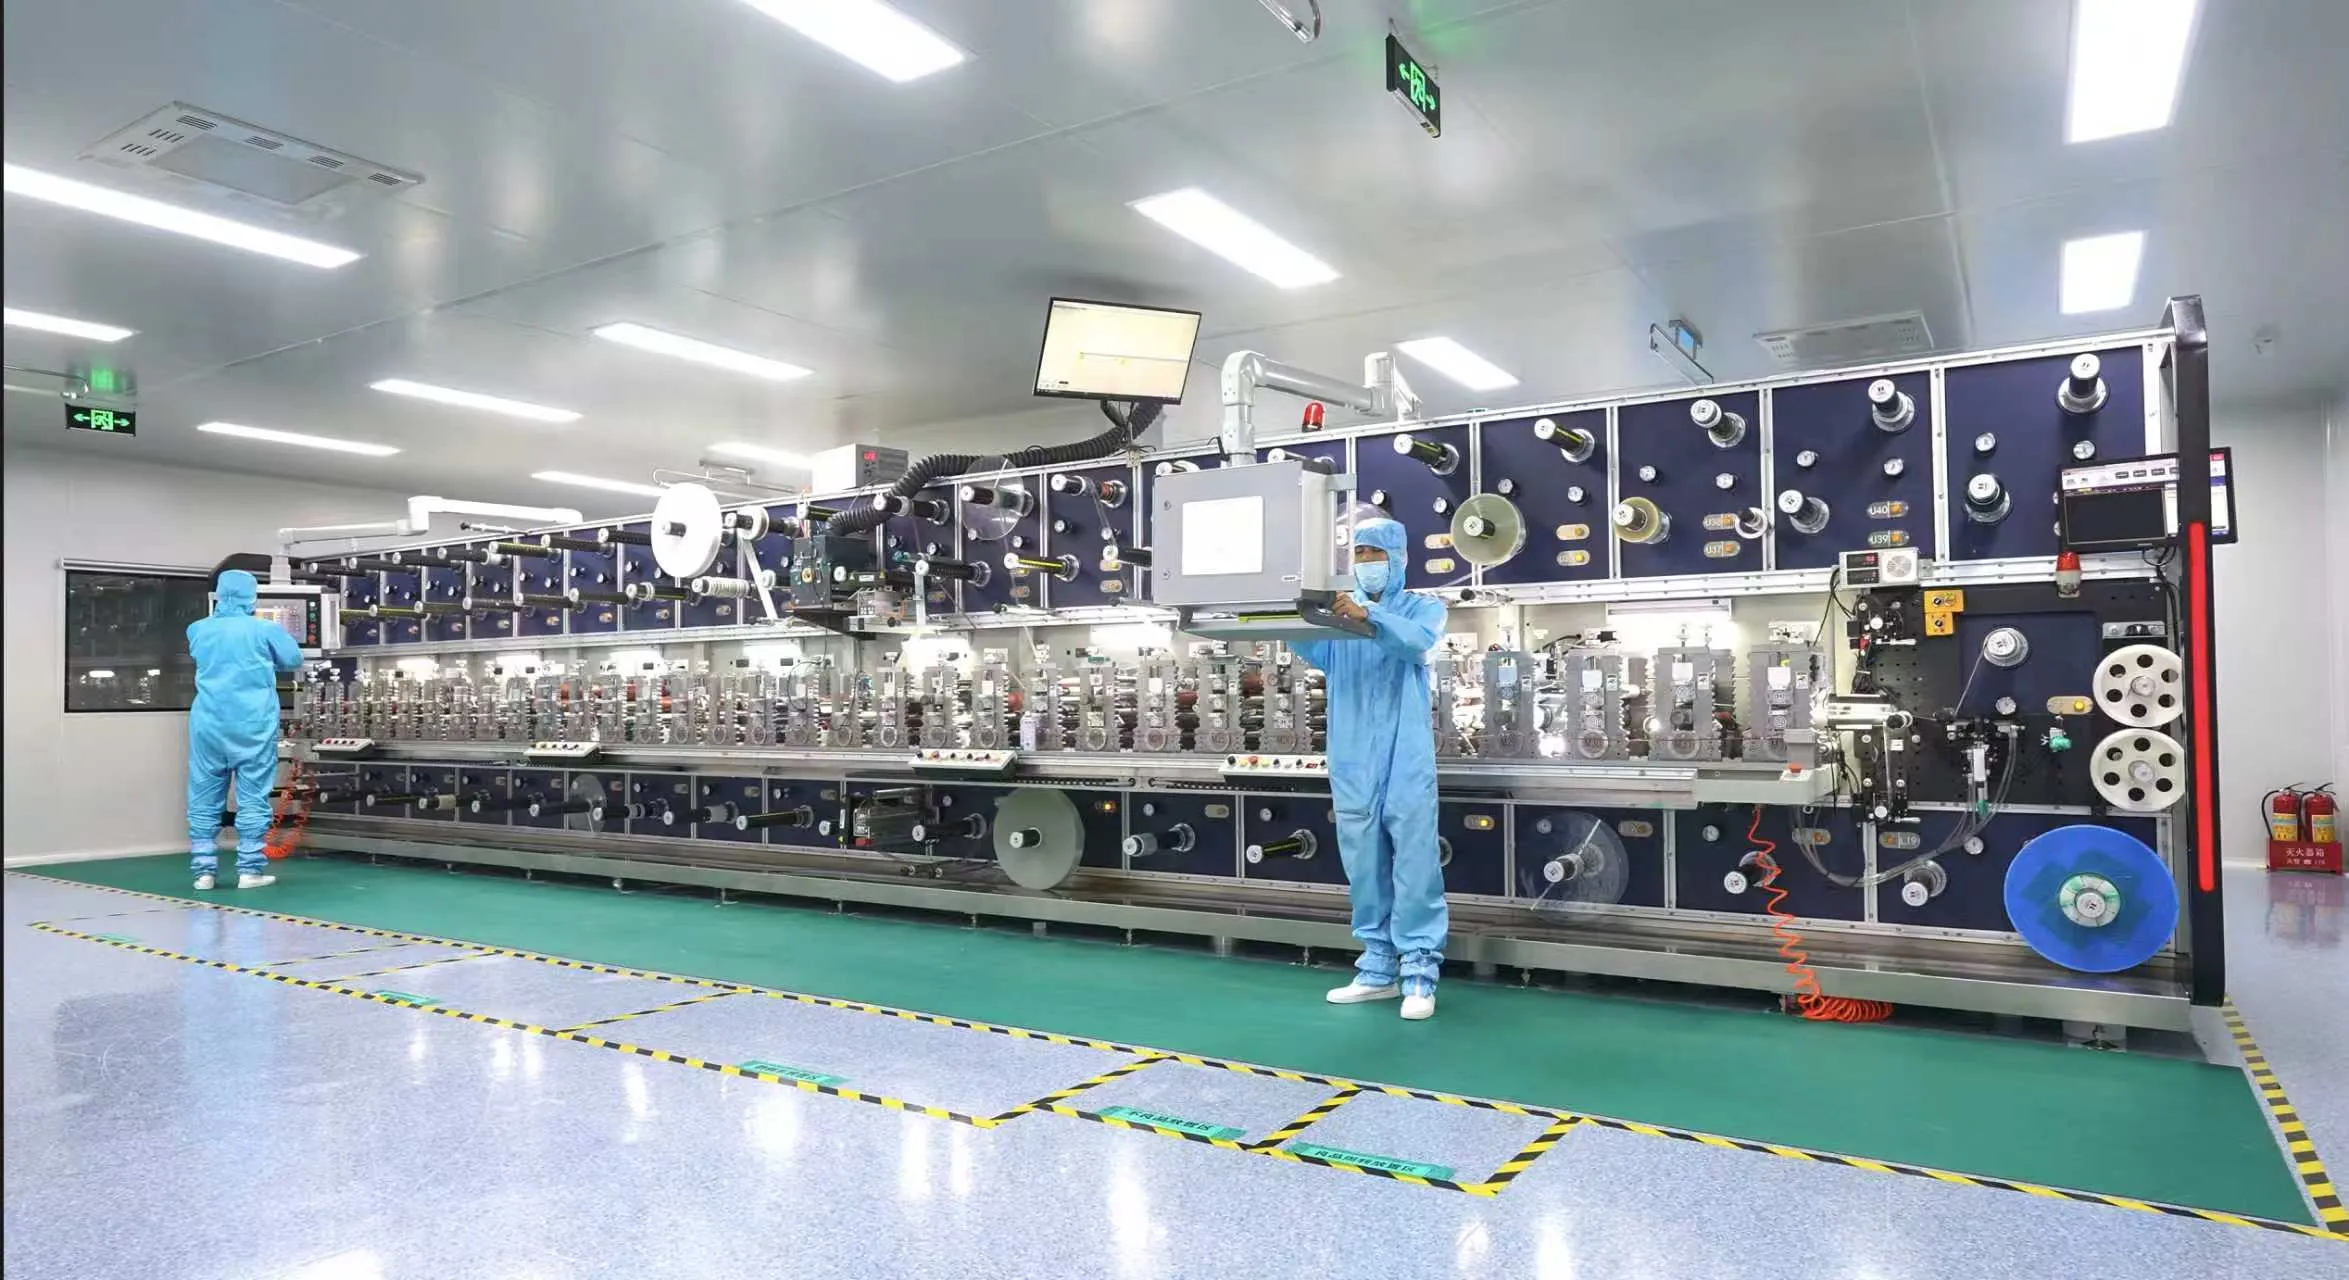
Pre-coated PSA layers meet at a heated or pressure nip that squeezes out air and sets the bond. Temperature, nip pressure, and line speed are logged for every batch; too little pressure leaves voids, too much squeezes adhesive out to the edges.
4. Curing and Cooling
Reactive systems pass through a controlled oven or cooling section so the bond reaches full strength before winding, preserving flatness and avoiding internal stress.
5. Rewind and Inspection
The finished laminate is rewound to a specified roll diameter, inspected for bubbles, wrinkles, adhesive bleed, and alignment, then labeled with lot numbers before precision die cutting.
Design Rules for a Reliable Laminate
- Match stiffness across layers: a rigid film bonded to a highly stretchy nonwoven creates internal stress that curls after cutting; balance moduli where possible.
- Keep total thickness die-cut friendly: overly thick stacks deflect in the die and produce ragged edges; validate thickness against the cutting method, compared in rotary versus flatbed die cutting for medical applications.
- Define release-force hierarchy: outer liners peel away easily, while internal layer bonds must never separate during liner removal.
- Avoid adhesive bleed zones: keep PSA coverage inside the final cut outline so excess adhesive does not contaminate neighboring parts or the liner.
- Account for moisture movement: breathable backings and MVTR must align with the PSA so sweat does not collect between layers.
- Design for unwind direction: specify which liner faces out so assembly workers peel correctly on the production line.
- Prototype before tooling: run small laminations to test bond and registration before committing to steel-rule or rotary tooling, following the path in our guide to prototype-to-production for medical adhesive components.
Common Lamination Defects and How to Prevent Them
| Defect | Symptom | Preventive Control |
|---|---|---|
| Trapped air bubbles | Voids under film that expand in wear | Adjust nip pressure, speed, and corona/priming; deaerate at nip |
| Adhesive bleed | Glue oozes beyond edge, contaminates liner | Reduce coating weight, tighten nip, control temperature |
| Misregistration | Layers skew; cutouts miss after die cutting | Active web guides, optical registration checks |
| Delamination | Layers separate on removal or in use | Raise bond energy, verify primer, validate aging |
| Wrinkling | Diagonal creases in backing or liner | Balance tension across unwind stands |
| Curling | Finished part rolls at edges from stress | Match layer modulus, slow cooling, relieve internal stress |
| Contamination | Particles trapped between layers | Laminate inside a controlled cleanroom with particle monitoring |
How Lamination Meets Die Cutting
The laminated roll is the input to converting. Rotary die cutting handles high-volume, thin-to-medium stacks at speed, while flatbed cutting suits thicker foams, short runs, and intricate kiss-cuts. Laser cutting offers a blade-free option for sensitive materials. Whichever method, the laminate must be stable enough to kiss-cut through the PSA and backing while leaving the liner intact — a balance set during lamination thickness and adhesive choice. Review the full toolkit on our medical converting capabilities page, and use rapid prototyping to test stack behavior before scale-up.
Validation, QC, and Documentation
Medical laminates require documented bond strength, aging, peel, and shear testing, with every roll traced by material lot, nip settings, line speed, and operator. Incoming material inspection, first-article verification, in-process monitoring, and AQL sampling follow the framework in our quality control guide for medical device component manufacturing. Records support FDA 510(k) submissions, EU MDR technical files, and customer audits; final packaging and assembly seals the validated stack against contamination. Browse finished examples across our medical adhesive components range.
2026 Hot Topics in Medical Lamination
- Ultra-thin multi-layer stacks: as wearables shrink, laminators bond films measured in micrometers without introducing stress.
- Sustainable liner systems: thinner recyclable liners and liner-free adhesive delivery cut waste while preserving release performance.
- In-line bonded sensors: lamination lines that embed conductive traces or antenna layers directly into the stack for connected patches.
- Digital process twins: nip pressure, temperature, and speed are simulated before physical runs to reduce first-article defects.
- Biodegradable layer combinations: emerging eco backings matched to compatible PSA chemistries for single-use devices.
- Automated optical inspection: 100% bubble and registration inspection at line speed replaces manual sampling for high-risk lots.
FAQ: Medical Device Lamination
What is the difference between lamination and coating?
Coating applies adhesive onto a single web; lamination bonds two or more prepared webs (PSA film, backing, barrier, liner) into one multilayer stack. Many medical components use both: adhesive is coated first, then layers are laminated before die cutting.
How thick can a medical adhesive laminate be?
Practical wearable stacks typically range from a fraction of a millimeter to a few millimeters including foam; beyond that, die-cutting quality and conformability suffer. Exact limits depend on the chosen cutting method and are set during prototyping.
Why does my laminated patch delaminate after a few days?
Delamination usually traces to insufficient bond energy at the nip, missing primer, mismatched surface energy between layers, or poor aging stability. It is diagnosed through peel testing of the interfaces rather than the outer skin bond alone.
Can lamination be done outside a cleanroom?
Non-critical industrial parts can, but skin-contact and implant-adjacent medical components are laminated in a controlled cleanroom where particle count, temperature, and humidity are monitored continuously to avoid trapped contamination.
Does the release liner stay on the final device?
No. The release liner protects the pressure-sensitive adhesive during storage and shipping and is peeled off by the user or assembly worker immediately before application; it never contacts the patient as part of the device.
How many layers can a medical laminate include?
Functional wearable stacks commonly run 3 to 5 layers; diagnostic tapes may include additional hydrophilic films and spacers. Each added interface raises registration and bond risk, so layers are only added when a clear function justifies it.
Leetoya laminates and die cuts validated medical adhesive stacks in an ISO 13485 cleanroom, from material selection and prototype to full production. Share your stack drawing and annual volume for a lamination feasibility review and quote.